Building a house in Cyprus starts with two decisions: whether the plot suits the home you want, and whether you can afford the whole project. Check the land, access and utilities before commissioning detailed designs. Then come permits, choosing a contractor to carry out the agreed works, construction and the paperwork for the finished building.
This guide follows a private house project in the government-controlled areas of the Republic of Cyprus, from the architect’s brief to handover and registration.
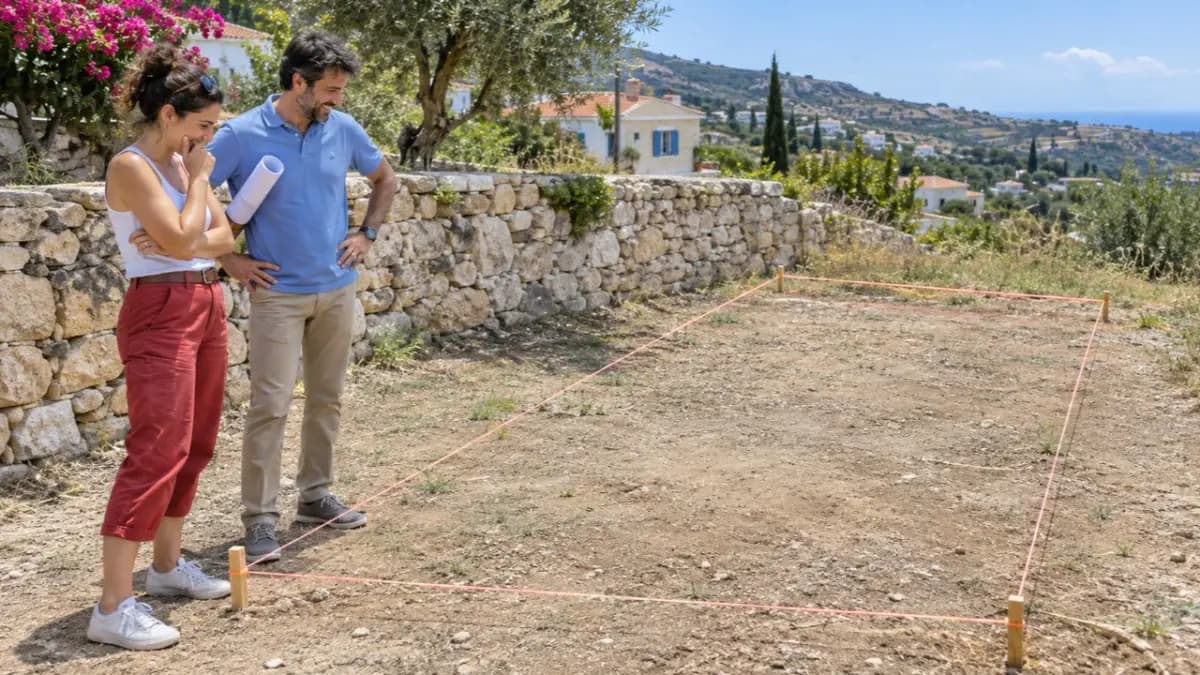
1. Define your needs and check the plot
Start with a short brief. How many bedrooms do you need? Where will you work? Do you want a garage, a pool or a separate guest room? How much can you spend on land, construction and associated costs? When does your family need to move, and how long can you live in rented accommodation?
Separate essentials from things you could give up. A ground-floor bedroom, for instance, may matter more than a large covered terrace. Record your priorities, spending limit and preferred move-in date so the architect can propose a manageable project.
Documents and information to collect
Ask the seller for a copy of the ownership document, commonly called the Title Deed in Cyprus, the Cadastral Plan, the plot identifier, any existing permits and approved drawings. If you already own the land, start with your own records. Give them to a lawyer to check ownership, third-party rights and restrictions affecting the transaction, and to an architect to assess the proposed house. The specialists can identify missing documents using the plot identifier and the scope of their checks.
What you can build depends on the Planning Zone and the applicable Development Plan. Permitted use, height, number of storeys, distances from boundaries, the position of the house and access all matter. These are among the issues considered in the planning assessment. What the planning authority examines.
Prepare a short plot record. For each item, ask the relevant specialist to record the answer, supporting document and any unresolved question:
- Rights and boundaries: which plot you are buying, who owns it and what third-party rights or restrictions apply. The lawyer handles these checks; a land surveying specialist establishes boundaries on site where necessary.
- The possible house: the floor area, number of storeys and position that suit the plot. The architect provides a layout linked to the applicable restrictions.
- Access and ground conditions: how to reach the plot and what work the foundations, slope and construction access will require. An engineer specifies investigations and assesses their implications.
- Utilities: connection points, available capacity and necessary off-site works. The designer requests conditions from providers; retain written replies, costs for known works and a list of items still to be priced.
This stage should produce a house layout, a list of constraints and an initial outline of costs. If the proposed development’s acceptability remains unclear, the designer can request the authority’s preliminary opinion using form EA8. Form EA9 is available to establish whether a Planning Permit is required. That permit concerns the acceptability of the development in its proposed location. Choose the application according to the question you need answered. Preliminary applications and submission procedure.
Suppose you like a sloping plot. The house fits, but the access and building platform will require excavation and retaining walls. Have an engineer assess these works before you buy: a more expensive level plot may be worthwhile if it avoids substantial preparation costs.
Move to detailed design once you know what can be built on the plot and what the major plot-related costs will be. If access depends on someone else’s land or slope stabilisation remains unpriced, resolve that issue first. You may need to reposition the house, reduce its size or choose another plot.
2. Build your team and plan the approvals
The architect connects your family’s needs with the plot’s possibilities and coordinates the design. Engineers handle the structure, building services and necessary calculations. A Quantity Surveyor can help control costs by defining the works, comparing bids and assessing changes.
Separate design, applications, construction oversight and completion paperwork in professional fee proposals. Assign a person and a cost to each. If the architect’s appointment ends when permits are obtained, agree separately who will handle changes and documents for the completed home.
Why there are two permits
The planning assessment considers land use, the building’s position, access and effects on the surroundings. A Building Permit addresses technical requirements, including structural safety, engineering solutions, accessibility and other building characteristics. Planning assessment and building control serve different purposes.
Under the standard procedure, the planning permit comes first, followed by the building permit. The building permit application goes to the District Local Government Organisation responsible for the location. The owner applies through an authorised designer using the IPPODAMOS electronic system.
The submission depends on the project’s type and size. It may include architectural drawings, structural calculations, electrical and mechanical plans, ground investigations and energy performance documents. The designer assembles the applicable package and addresses additional requests from the authority. Building permit procedure.
What the “40 days” promise covers
Eligible projects of up to two residential units can follow two consecutive accelerated stages. Under KDP 322/2024, within 20 working days of submission the authority issues confirmation that planning permission is deemed granted, or rejects an application that falls outside the procedure’s conditions. The building permit package follows: KDP 32/2025 also provides 20 working days from submission for this stage. Planning stage, paragraph 4, building stage, paragraph 8.
The route depends on the status of the land and project. Before choosing accelerated submission, the designer checks:
- whether the building plot is formally established or undergoing a plot formation process covered by the rules;
- whether the zone allows the intended house and the design meets the applicable parameters;
- whether road development plans, third-party rights or access restrictions affect the plot;
- whether a protected building, special area requirements or departures from the rules require consideration.
The building stage also requires the planning authorisation already obtained. If the accelerated conditions are unmet, the designer selects another applicable route from the application categories guide. For difficult ground conditions, the decision takes account of the required investigations and the procedure’s other conditions. Ground investigation guidance, section A.2.
In 2026, the Limassol district authority expressly refers to these procedures and warns that incomplete packages will be returned for additional information. Allow time for preparation and possible revisions in your programme. Twenty plus twenty working days covers two administrative stages; assembling the building submission between them can take additional time. Application submission instructions.
Build a programme through to moving in
Divide it into five phases, recording a responsible person, start date and outcome for each:
- Preparation. You approve the brief; specialists complete investigations and design. The outcome is a package ready for submission. Include time for initial information and preliminary consultations.
- Planning. The designer submits under the chosen procedure and responds to comments. The outcome is the documented authorisation for the next stage, with its conditions.
- Building approval. The designer assembles the technical submission. The outcome is the permit and satisfaction of conditions required before work starts.
- Construction. The contractor schedules work, deliveries and checks. The outcome is a house ready for inspection and handover, with records of completed tests.
- Completion. You and the specialists resolve outstanding items, finish connections and obtain administrative documents; the owner arranges building registration. Tie the move-in date to compliance with the requirements for using the home.
You might discuss ordering windows while other works are being prepared. If opening sizes are still changing, however, early payment creates a risk of rework. Record who authorises the order and which document releases it. Apply the same approach to equipment and materials with long delivery times.
If the authority asks for more information, have the designer list its comments, assign responses to specialists and set a resubmission date. When the design changes, establish which approvals are affected before revising the programme.
3. Compare budgets on the same scope
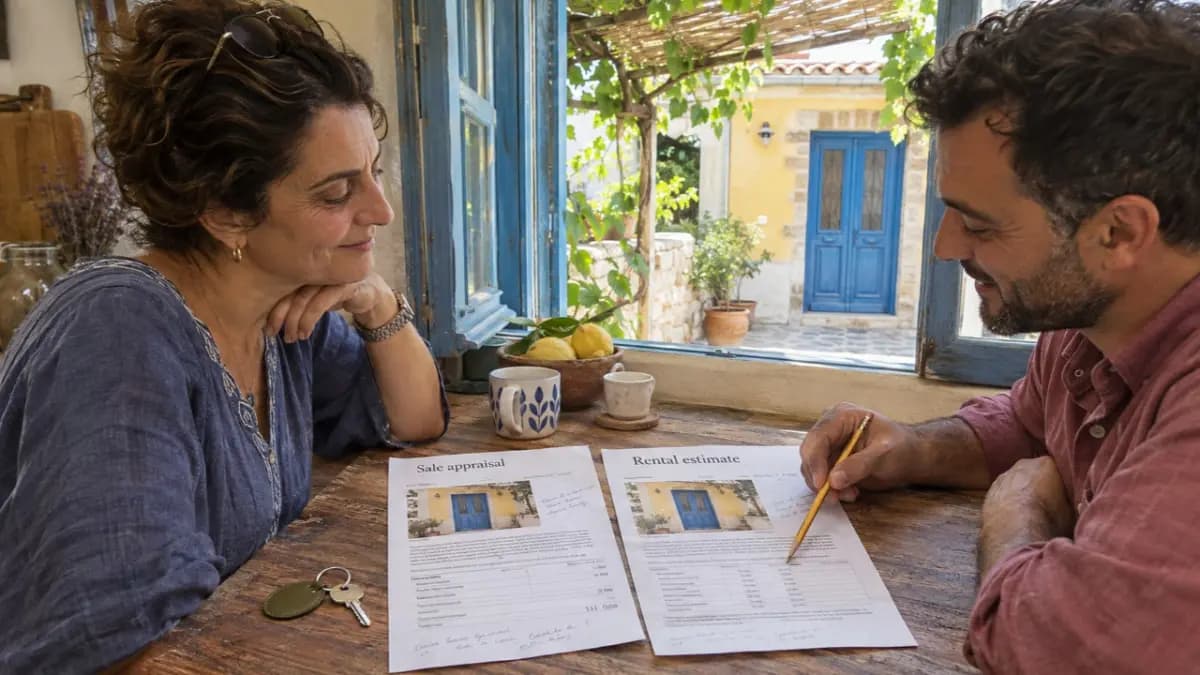
A price per square metre is useful alongside a definition of the area and a list of included works. A quote should identify the design version, how the house, terraces, garage and basement are measured, and the materials and equipment included. Dividing the total by indoor floor area produces a different rate from including covered terraces, even when the total price is identical.
Official statistics offer a reference point: the Average Cost per m² for the Houses category completed in the private sector in 2024 was €1,328. It includes design, engineering studies, permit fees, labour, materials, the main contractor’s services and applicable Value Added Tax (VAT). Land is accounted for separately. Data and methodology.
This figure describes completed houses with different sizes, locations and finish levels. For a new commission, obtain quotes for your design that reflect selected materials, site conditions, purchasing dates and quantities of work.
What the full budget includes
Build the budget around these groups:
- Land and acquisition. The plot price, legal checks and applicable transaction taxes and fees.
- Investigations and preparation. Site measurements, ground investigations, demolition where needed, excavation and soil removal, access preparation and slope stabilisation.
- Design and professional support. Architects and engineers, calculations, permit charges, construction oversight and cost review services.
- Main building works. Foundations, structural frame, walls, roof, waterproofing, windows, building services and finishes.
- External works. Fencing, paths, rainwater drainage, landscaping, a pool and other planned structures.
- Connections. Preparing for and meeting providers’ conditions, laying services, necessary network extensions, meters and inspections.
- Waiting and financing. Bank interest and fees, insurance, temporary rent and costs if construction takes longer.
- Completion. Testing, documents, building registration and contractual work before handover.
- Contingency. Money for specific uncertainties: ground conditions, revised quantities, purchases and possible delays.
For each budget line, record the amount, its basis, the quote’s date and validity, when payment falls due and who is responsible. Turn “turnkey” into a specific list: are the kitchen, equipment, fencing, connections and completion paperwork included? If a service is already covered by a contract, mark it in the relevant group so it is counted once.
Review VAT separately: which amounts include it, where it is added and the basis for the rate applied. Give a tax specialist details of the client and intended use of the house, design areas, plot documents and itemised quotes. Ask for final amounts by cost group and the applications required. You can then approve a budget suited to your circumstances.
Check whether the contingency is sufficient
Imagine a family preparing an initial budget in 2026: €300,000 for main works, €30,000 for design, investigations, professional support and permits, €20,000 for utilities and €25,000 for external works. The total is €375,000. These illustrative amounts are treated as final, including applicable taxes. Land, acquisition costs, financing and temporary accommodation are paid separately.
The family adds a 10% contingency to those listed costs: €375,000 × 10% = €37,500. The limit for this part of the budget is €412,500.
Further ground investigations lead to a revised engineering solution. Additional works cost €45,000, while redesign, investigations and approvals add €6,000. Forecast spending rises by €51,000:
€375,000 + €45,000 + €6,000 = €426,000.
The contingency covers €37,500 of the increase. The family must find another €13,500 above the original limit or reduce other costs. Ten per cent is their chosen assumption in this example; the contingency for an actual house depends on the risks that remain.
That change uses the entire contingency. Finding only €13,500 covers the revised forecast, leaving future deviations to be funded separately. Before signing the contract, ask the engineer to identify the plot’s most expensive uncertainties and assess their consequences. Use that assessment to set the contingency and decide the scale of the house.
4. Choose the contractor and agree the terms
Give bidders the same drawings and specifications for materials, equipment and finishes. Ask them to list exclusions, provisional allowances and work priced according to actual quantities separately. Then bring the quotes onto the same basis.
Suppose one company quotes €300,000, with €20,000 of connections and €25,000 of external works left to you. Another quotes €330,000 including those same items. With all other conditions and taxes equal, the comparable totals are €345,000 and €330,000: the second offer is €15,000 cheaper. These illustrative prices show why the costs behind the opening figure matter.
The contractor must be registered and hold a valid annual licence in the appropriate category and class. Request documents for the company that will sign the contract and have the designer check that its authorisation suits your project. Contractor requirements in the Republic of Cyprus.
Before signing, agree:
- the drawings and specifications defining the scope;
- payment stages and the confirmation required for each payment;
- who checks quantities and quality before payment;
- how additional works and price changes are documented;
- the events from which deadlines run and how delays are treated;
- responsibility for insurance, site protection and stored materials;
- inspection, defect recording and follow-up arrangements;
- the documents due from the contractor at completion.
Review these terms and the contract attachments with a lawyer. Advance payments, retention and the consequences of delay should reflect your agreement and applicable requirements.
For each payment, specify the amount, basis and supporting document. For example: “Stage: completed structure; scope: work to the agreed drawings; checked by: appointed engineer; payment basis: confirmation of completed quantities as required by the contract.” Appoint a specialist who acts in your interests to make that check. If quantities differ, record the discrepancies first and establish the amount payable under the contract.
5. Control construction stages and changes
Before work starts, obtain the designer’s list of satisfied permit conditions, appointed specialists and mandatory inspections. Give the contractor the agreed design version and programme. Show dependencies such as testing pipes before finishes conceal them and completing openings before windows are installed.
Organise oversight by stage:
- Site preparation and foundations. The engineer compares actual ground conditions with the design assumptions and checks work that will later be concealed. Record inspections and changes before the next stage.
- Structure, roof and exterior elements. The responsible specialists check compliance with the design and agreed materials. Assess substitutions before purchase or installation.
- Electrical, water and other systems. Installers carry out the necessary tests. Keep test records and photograph pipes, cables and joints before they are concealed. Store these with the house documents.
- Finishes and equipment. Check completeness, workmanship and equipment operation. Keep one list of outstanding items, with responsibility and deadlines for corrections.
Some inspections are tied to utility connection procedures. In Limassol, for example, private sewerage is inspected before the relevant sections are covered, and connection requires written consent from the district authority. Include these steps with your designer if the house falls within that area and procedure. Limassol sewerage connection procedure.
When you want to change the design
Suppose you decide to enlarge the terrace during construction. First, the architect compares the proposal with approved drawings and permit conditions, while engineers assess the structure and services. Obtain a written response from the designer explaining which documents are affected, whether an application is needed and the basis on which the change can proceed. Where permits need amending, obtain approval before carrying out the altered works. The contractor calculates the price and programme impact, and the parties document the contract change.
Follow the same sequence when adding a storey, floor area or pool, or changing the use. Moving a partition depends on its structural role, services passing through it and the approved design. The state procedure covers extensions, alterations and changes of use.
Each entry in the change log should answer five questions: what changes; which drawing is replaced; which approvals have been obtained; how much is added to the price; and how the programme changes. Check all five before the altered work starts. After signing, update forecast spending and the remaining contingency.
6. Inspect the house, take handover and complete the paperwork
Plan for three distinct outcomes: the quality of the work handed over, documents from the competent authority and updated building registration. Assign someone and a deadline to each.
Inspect the house with the architect or another appointed specialist. Check finishes, windows and doors, equipment operation, test results and the document package. Make each defect verifiable: “The first-floor bedroom door catches on the floor; the contractor adjusts it by the agreed date; the follow-up check confirms free opening and closing.” Make final payments according to the contract.
Under the general rule in section 10(1) of Cap.96, occupation or use of the house is permitted only after the competent authority issues a Certificate of Approval. Under section 10(6), the document may cover part of the works. Before moving in, ask the designer and lawyer which rooms and works it covers.
The certificate requires a separate application; the submission procedure relates to the permit and applicable supervision regime. For example, the Nicosia district authority describes submission through the designer. Have your designer establish the required documents and conditions for your house in advance.
The next outcome is recording the completed building in the Land Register. The registered owner applies to the Department of Lands and Surveys. The procedure page lists application Δ.Ε.254, permits and their conditions, approved plans, the relevant certificate, completed form Ν314Α1 and applicant documents. Before submitting, check the package and arrangements for delivering originals against the official building registration requirements.
Before closing the project, collect:
- permits, conditions and final approved drawings;
- inspection and test records;
- a resolved defects list or an agreed process for outstanding items;
- connection and utility operation documents;
- the certificate of approval and records of compliance with its conditions;
- building registration documents;
- equipment instructions, warranties and maintenance contacts.
If the certificate contains observations or the actual layout differs from approved plans, give the documents to the designer and lawyer. They should establish the steps required to use the house and complete registration. Set the move-in date according to system readiness, compliance with permit conditions and completion of the necessary paperwork.
When building suits you better than buying a finished home
Building lets you choose the layout, materials and equipment around your needs. It suits people ready to make decisions, follow the project and retain funds for costs above the initial estimate. Specialists can take on some of that work; include their fees from the start.
A finished house lets you inspect the existing space and assess how well it suits daily life. Before buying, the main work is checking its condition, documents, required alterations and their cost.
Compare both options on the same basis. For a build, add land, all works, professional support, financing and accommodation while you wait. For a finished home, add the purchase price, transaction costs, repairs and changes needed to meet your requirements. If you already own the plot, buying it requires no new payment, but include its value when comparing the economic cost of the alternatives.
Then compare the move-in timeline, personal involvement and available funds. If your family needs to move before a particular school year, lengthy plot preparation may favour a completed house that has passed the necessary checks. If a particular layout matters more and you have time and financial headroom, building gives you more scope to fulfil your brief.